Drone Propeller Replacement Guide for Safer Flights
A propeller can look nearly perfect and still compromise an otherwise excellent flight. A tiny chip, a bent tip, or a hairline crack near the hub can create vibration that affects stability, camera footage, battery efficiency, and control response. This drone propeller replacement guide helps you make a confident call on when to swap a prop, how to install the correct one, and how to verify your drone is ready to fly again.
For creators chasing smooth aerial footage, hobby pilots practicing precision maneuvers, and professionals who depend on reliable equipment, propeller care is not a minor maintenance task. It is one of the simplest ways to protect a premium drone and keep every session performance-ready.
When Should You Replace Drone Propellers?
Replace a propeller after any strike, hard landing, contact with branches, or unexplained vibration. Even if the aircraft appears to fly normally, a damaged blade can place uneven load on the motor and increase the chance of failure during a later flight.
A close inspection under bright light is the right starting point. Look along both the leading and trailing edges for nicks, splits, whitening in the plastic, warping, or separation around the hub. Run a clean finger lightly along the edge to feel for imperfections, but avoid flexing the prop aggressively. Carbon fiber and composite props can conceal damage that is not immediately obvious.
Replace props immediately if you notice cracking, bending, loose hubs, missing material, or a blade that no longer matches its partner. It is also smart to change a full pair after a meaningful impact, especially on folding drones where one side may have absorbed more force than the other. The cost of a replacement set is small compared with a damaged motor, gimbal, or aircraft.
Normal wear matters, too. Pilots who fly frequently in dusty, sandy, coastal, or cold environments may need replacements more often. Sand can erode blade edges, moisture can affect metal hardware, and repeated folding can wear parts over time. There is no universal flight-hour schedule that fits every drone. Condition and operating environment are better guides.
Start With the Exact Replacement Propeller
Not all props that look similar are interchangeable. Your replacement must match the drone model, motor configuration, mounting system, size, pitch, and rotation direction specified by the manufacturer. A prop designed for a different version of the same drone may fit physically while delivering the wrong aerodynamic performance.
Check the markings on the original propeller and compare them with the replacement set. Many drones use clockwise and counterclockwise props, often identified by colored rings, printed letters, lock icons, or directional markings. The motors will have corresponding indicators. Mixing these up can prevent takeoff or cause the drone to flip immediately after liftoff.
Original manufacturer propellers are usually the strongest choice because they are engineered around that aircraft's flight controller, motors, and safety system. High-quality compatible props can be appropriate for experienced pilots in some applications, but there is a trade-off. They may change flight noise, responsiveness, power draw, or image vibration. For a camera drone used for travel, real estate, or content production, consistency is usually worth more than experimenting with an unknown set.
Keep at least one spare set in your flight case. A compact prop case or rigid compartment prevents blades from becoming bent under batteries, cables, and tools. Your Tech Haven customers building out a serious drone kit should treat spare props as essential flight gear, not an afterthought.
Drone Propeller Replacement Guide: Step by Step
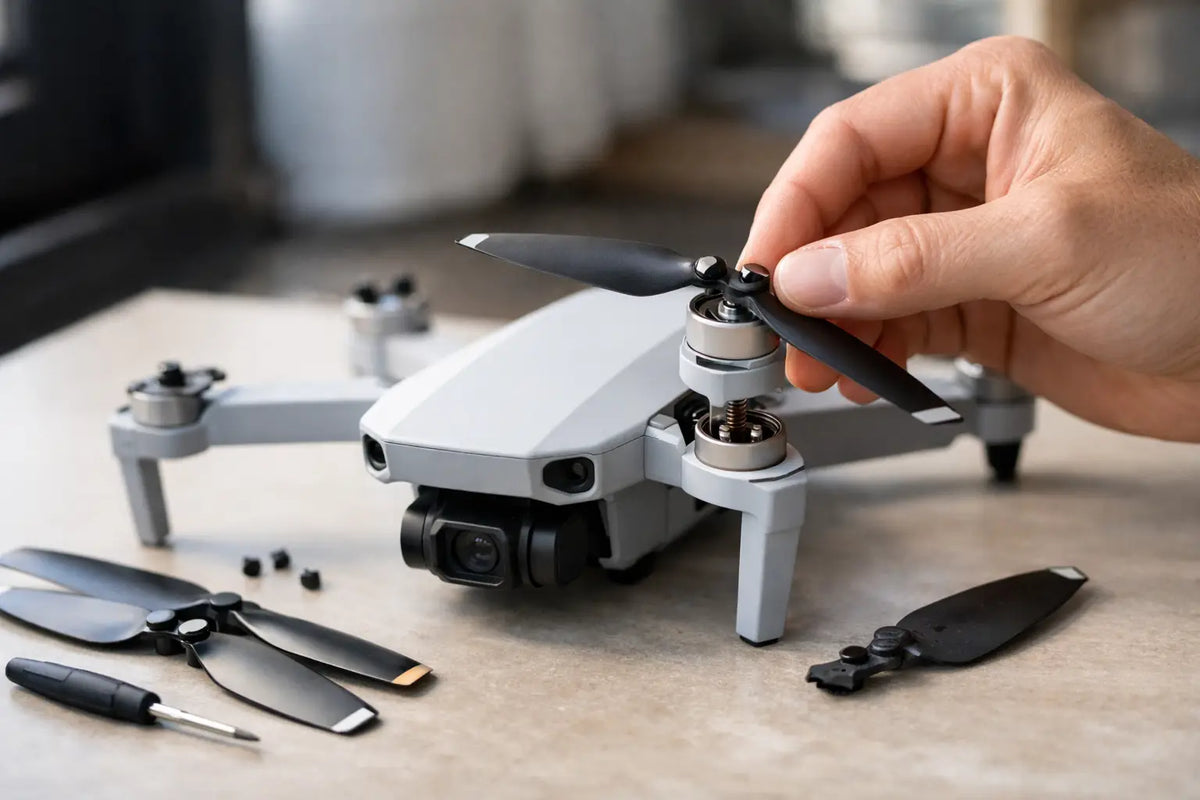
Start on a clean, stable surface with the drone powered off. Remove the battery whenever the design allows it. This prevents accidental startup and makes the aircraft easier to handle while you work.
Before removing anything, take a quick photo of the propeller layout. It can save time if you are new to the aircraft or replacing multiple props at once. Then unfold the arms carefully, if applicable, and identify the directional markings on the motor and propeller.
For quick-release systems, press down or follow the indicated unlock motion, then rotate the prop in the direction shown by the manufacturer. Do not force it. If the prop does not release smoothly, recheck the lock direction and clear any dirt around the mount.
For screw-mounted props, use the correctly sized driver and keep firm downward pressure so you do not strip the screw head. Place the screws in a small tray or magnetic organizer. Some models use thread-locking compound or specialized screws, so use only the hardware recommended for your drone. A screw that is too long, too short, or improperly tightened can damage the motor mount.
Install the replacement prop by matching its markings to the correct motor. With a quick-release design, seat the prop fully, apply gentle pressure, and rotate until it locks. With screws, tighten them evenly and snugly without overtightening. Plastic hubs can crack, and fine motor threads can be damaged by excess force.
Once installed, gently check for play at the hub. The prop should be secure and should rotate freely with the motor. Foldable propellers should move naturally at their hinges but should not feel loose, sticky, or uneven.
Complete a Ground Check Before Flying
A replacement is not finished when the prop clicks into place. Confirm that every installed prop matches the correct motor marker and that no blades are crossed, upside down, or partially locked. Inspect the remaining props while you are there. A fresh prop on one arm will not solve vibration caused by a damaged prop on another.
Power on the drone in an open area and listen during startup. Unusual buzzing, rubbing, or motor noise calls for another inspection. If your model has a propeller test, diagnostic screen, or calibration prompt in its companion app, use it.
For the first flight, choose a clear space and hover low for 20 to 30 seconds. Watch for drifting, shaking, unexpected noise, warning messages, or visible vibration in the camera feed. Then make a few gentle yaw, climb, and descent inputs before moving into a normal flight pattern. This cautious test takes only a minute and can prevent a much more expensive problem.
Common Mistakes That Can Ground a Drone
The most common error is installing the correct-size propeller on the wrong motor. Directional props are not cosmetic variations. They work together to counter torque and keep the aircraft stable.
Another mistake is assuming a prop is safe because the drone took off. A drone may hover with a minor defect yet show problems during fast movement, wind resistance, or braking. If footage suddenly has a jello-like wobble, the drone sounds louder than usual, or flight time drops unexpectedly, inspect the props before blaming the gimbal, battery, or software.
Avoid trying to repair a chipped or cracked prop with glue, tape, sanding, or heat. The blade must remain precisely balanced, and DIY repairs can create weak spots that fail under load. Replacement is the safer and more predictable choice.
Finally, do not mix random prop styles within the same set. Different materials, weights, and profiles can affect balance even if the pieces fit the same mount. Use a matched set when possible, particularly for high-speed flights or camera work where smooth control matters.
Store and Maintain Props for Better Performance
Good replacement habits extend beyond installation. Wipe props with a soft, dry cloth after flights in dust or salt air. Let them dry completely after exposure to moisture, and do not store the drone with blades pressed tightly against hard surfaces. Heat also matters: leaving a drone case in a hot vehicle can warp some prop materials over time.
Before each flight, make prop inspection part of your preflight routine alongside battery checks, controller connection, airspace awareness, and camera settings. It takes less than a minute. That small ritual supports cleaner footage, more predictable handling, and more confidence when your drone is in the air.
A fresh, correctly installed propeller will not make every flight perfect, but it removes one of the most preventable causes of instability. Keep the right spares close, respect the directional markings, and give every new set a careful low hover before you send your aircraft toward its next great view.